Showing posts with label diy. Show all posts

8.07.2012

diy ombre shirt

Today, we've got a lovely guest post from Fernweh reader Kryn. She emailed us with this DIY, pointing out that we hadn't had as many recently, and we instantly knew we had to share her ombre shirt diy. What do you think?

I know neon has been around for a while now, but I didn't really jump on the bandwagon until a few days ago. I'd seen several ombre shirts and such, and I wanted to try my hand at one. Give it a try, the total cost of this project is $9, so it's an affordable way to get a little neon in your wardrobe!
First gather these things, along with one cup of water. You also might want to use a different bottle than the one the Tumble Dye comes with - I found it didn't work so well. (And yes, Angela Merkel is really excited, Germany loves neon too!)

ONE: Spread out your shirt on the newspaper (you may want to layer a plastic bag under it, just in case there are any drips) 2: Begin spraying the shirt. You can start at the top or bottom. THREE: Add 1/2 - 1 tablespoon water to the dye. Shake it so it mixes. 4: Spray a little further down, about 3 inches. 5: Repeat steps 3 & 4 (as many times as you like). Let the shirt dry COMPLETELY. 6: Set the dye by drying the shirt in the dryer on high for 20 minutes. 

Much love, 
Kryn
p.s. Just to let you know, I know the hearts on the 2nd photo don't really go, I used them just because I didn't realize there was a woman hardly clothed next to the shirt. Please excuse my little error...

3.21.2012

moustache stamp

Today's post is written by Fernweh reader Charity, a pretty crafty gal! Leave her some love in the comments. If you're interested in submitting a guest post, find out more here.
I know that everybody likes moustaches. No idea why. Maybe because they're just something unique and stylish?
But that is neither here nor there. So back to my point, I decided to make a tutorial on how to make moustache stamps in a few easy steps. I enjoy using them to decorate cards, notebooks, small burlap sacks and other little oddities.

Supplies: 
-eraser {white}
-small knife, blade {etc}
-pen
-ink 
-paper


STEP 1: Draw the exact shape or style of moustache you want right onto the eraser. You may want to practise on paper first.

STEP 2: Now get your small knife {I just used a pocket knife}and define the lines of your 'tache. Cut in as deep as you want it to be.

STEP 3: Next, scrape away all extra eraser, digging from underneath what you outlined and pushing it out. Now your stamp will be raised above the base.

STEP 4: Get out some ink, any colour will work depending on your choice {or what you want to use it for}. The more ink, the more filled in the stamp of the moustache will be. I use a Color box /pinwheel for my stamping. 

STEP 5: Now stamp. You can stamp cards, bookmarks, notebooks, cloth bags, and numerous other items.
And voila, you have your very own, handmade moustache stamp and at a lovely price.

Now go out there and give it a shot. 

Thanks Charity!

2.08.2012

for you, from me

Unlike my American friends who spent their elementary schools years exchanging Valentine's with everyone, here in England 14th February is mainly relegated to the realm of Happy Couples, and not with family and friends. In my opinion though, it's never too late to infuse your celebrations with the ideas of other cultures, and this Valentines Day, I'm embracing the idea of giving tokens of your affection all your loved ones--family, friends and more-than-friends too. Just sweet and small gifts that say, "I am thinking of you. I am glad you are in my life."


paper flowers
These are so light, pretty and colourful, as well as simple to make. There are lots of different tutorials around for you to experiment with, and all different weights of paper too. I've used three different ideas here, but these are so simple and intuitive to make.
 purple flowers 
Cut five circles of varying sizes. Using a small dab of glue, stack them on top of each other. Twist the base and glue.
yellow flowers
Cut a length of tissue paper, fold in half, and snip evenly along the fold. Spread glue along the bottom and twist.
pink flowers
Cut a length of tissue paper. Roll in a short way and then pinch the rest of the paper around, creating a ruffled petal look.


fill a film canister
The idea of creating a time capsule of sorts to remind you of your friendship is a lovely one. Big boxes filled with memories can feel overwhelming, so a few small things that can fit into a film canister, or any other small container, would be perfect.
Here, I've got a photo booth-style strip which I made using Photoboother. There's also some sparkly bits, various heart-shaped items and a unicorn charm.Put together things that remind you of a certain friendship.


a letter-writing kit
You might have already noticed that we like writing letters! It's nice to write to your friends that you see everyday or nearby family too. There's something about the time taken and the thought put into a letter that makes a bit more special. To make this gift even sweeter, send it through the post!
Gather a pen, stamps, stickers, envelopes, and maybe add  a handmade touch. Try a hand made card message, or make some paper bits to be stuck onto future correspondences. 

button brooch
I hoard buttons and ribbons and haberdashery goodness like no body's business, and sharing my favourite crafting goodies with my favourite people makes sense. For this DIY, you'll need to be careful not to let anything fly into your eyes. Supervision and/or goggles would be wise.
You'll need a button with a shank loop on the back. Use pliers to cut this off, sand down the rough area with sandpaper, and then use either hot glue or superglue to adhere the button to a flat-backed brooch pin.

Will you be giving your friends and family any Valentines this year? Do you have any good ideas to share?

xx
Libby

2.02.2012

a pretty little heart garland

It seems that February has made its arrival...let the reds and pinks and hearts and cupid's arrows and mushy valentine's things commence! But it's rather fun to get caught up in it all, don't you think? Here's a little tutorial for a heart garland to get you into the valentine's mood.


heart garland

what you'll need

-paint chips (available at any home improvement or paint store)
-book pages/newspaper
-scissors
-tape
-pencil
-thread


directions

1. Trace hearts on the paint chips and book pages -- I cut out one I liked, then used it as a template for the others.

2. Cut out hearts -- I had about thirty.

3. Tape or glue hearts onto the thread.

4. Hang wherever you'd like to spread valentine's cheer!


This is a super easy sweet project to brighten up any part of your home...it's perfect to do while watching a movie (or in my case, Downton Abbey. so in love!).

Enjoy!

much love,
carlotta

1.24.2012

notebooks.

Inspiration is a sneaky little thing. Not often there when you're looking for it, but always there when you least expect it to be. To have an idea make itself at home inside your head is possibly one of the best things ever. But getting distracted or preoccupied sometimes in inevitable, and it's easy to lose grasp and let your idea slip away. Luckily, there's notebooks. I take one with me wherever I go. They're scattered across the house. I write my blog posts in them. I write to-do lists, reminders, and reflections. I write ideas.

Sure, phones and such devices are good for this kind of thing, but not nearly as satisfying as opening up to a fresh lined page and hearing the scratch of your pencil. In honour of these lifesavers that are notbooks, a few simple DIYs for you.

travel notebook


you will need: notebook with a paper surface (i used kraft paper moleskins for all of these), one envelope, gluestick, pen
how to make: cut off two ends of an envelope. if you'd like to write or draw something on it, do so, then glue anywhere along the opening edge of the notebook. glue the other end inside the front or back cover to use as a pocket for little things collected during your travels (ticket stubs, photographs, etc.)


chalkboard notebook


you will need: notebook with a paper surface, chalkboard paint, paintbrush, chalk
how to make: on the cover, paint a shape of your choice with chalkboard paint (or paint the entire cover, if you'd like). wait an hour or so for paint to dry. when dry, doodle away! the chalk comes off best with a regular chalkboard eraser or just a tissue.


gift tag notebook


you will need: notebook with a paper cover, gift tag, pen, glue, hole puncher, some string or twine, tape
how to make: write or draw whatever you wish on your gift tag. when finished, glue the gift tag on the cover. with a hole puncher, punch a hole right through the gift tag and the cover. you'll be able to see right through to the first page, which gives it a really neat effect. take some string or twine and thread it through the hole from underneath. pull until you can bring the end of the twine back inside the notebook. on the inside cover, tie the two ends of the twine together, or just tape it. 


Happy crafting! Do you have a favourite? 

xo,

1.21.2012

doodling//drawing.

"I love doodlers," my professor told us at the beginning of class last week. "Feel free to doodle. I know a lot of people have to doodle so they can pay attention. I've seen some amazing dragons in this class. Why is it that you always draw dragons?"


Doodling is the only reason I take notes on paper, as opposed to using my laptop. I have to have something to do with my hands, whether it's taking notes or drawing pictures or both. I'm an amazing doodler. I can draw out some sort of intricate, nonsense design while I take notes and listen to the instructor. Drawing? Drawing is a different story.

I took a drawing class last year. It was a love/hate relationship. My professor had us keep a sketchbook. We were required to fill at least three pages a week of assigned drawings, and he encouraged us to use it to take notes, doodle, and draw whatever we wanted. The goal of the sketchbook wasn't to create great art, it was to give us practice in drawing regularly. For me, it was filled with notes from my American Lit class (Charlotte Gilman's the Yellow Wallpaper, anyone?) and scribbled lyrics and quotes that I loved. Some of those- the lyrics and quotes, especially- became habit when I started a new journal in the beginning of January.


The day after Christmas, I bought a three pack of Moleskins, and opened them on January 1st. I have the first one halfway filled at this point. It's habit: every night before I go to sleep, I write a page full of thoughts, draw out a lyric, or scribble down a quote I love.


I'm not sure why, but for years my journals have been only words. I've always identified best with writing, and words come naturally to me. Now, though, I have quick drawings of things that matter to me, like The Fault in Our Stars and the first two lines of one of my favorite songs. I have blackout poetry inspired by Kendall..."most men are gasping for breath."

It's inspiring to flip through and see not only the written record of my month, but the drawings as well.


Are you a drawer or a doodler? Do you keep some sort of journal?

xo, katie

1.12.2012

map walls


I like maps. I like to stretch out old paper atlases and point out the places my dad grew up. I like to spin globes and dream of where I might travel to. I like to satiate my fernweh with these colourful pieces of paper.
Sometimes though, a map by itself isn't enough. I want the memories of places I've been, and photos of friends, and tickets from tourist attractions. And my interior-design loving mind wants it all to fit together, gorgeously.
This is where the idea of a map wall comes in. Start with a basic map--mine came from an issue of Frankie magazine. Try a children's toy shop or the charity shops {thrift stores/op shops} or even look on Etsy under handmade or vintage. You could even scan an atlas page to your desired size; the one I used is A3.
From here, let your creativity take over and build up your own unique art work around the map. Gather photos, ticket stubs, knick knacks, receipts, illustrations, pictures ripped from magazine, even journal entries. I found it helpful to come up with a loose theme for each of map walls; below I've used 'blue', 'Amsterdam' and 'faraway friends' as ideas to gather items for. You might not be able to see this but I've also stuck stickers where all my friends come from--there's obviously Cananda & America for the Fernweh girls, but also Russia, Germany, Denmark and Hungary as well as England, for my school friends.
{'faraway friends' featuring a magazine page, old photos, notes, a photo from abbey, a birthday card  and a cut-out title}
{'Amsterdam' featuring tickets, photos, receipts, notes from my journal, cut-up paper bags, more tickets...}
{'blue' featuring postcards, tickets, a few of my photos, adverts from magazines, an old bookmark}
Stick your map up on the wall. I used some pretty washi tape from Papermash--as well as looking lovely, it doesn't damage my walls at all. Picture rails, blutack or even using a pinboard in lieu of a wall are great alternatives too. Add all your bits and pieces around the map. Again, I used washi tape to stick everything to the wall. Don't get too bogged down in having any pattern to this--stick up everything that you like and then move it around a bit! Embrace the wonkiness too; these are just added as things catch my eye and it's not perfect. That's really part of the charm though. Anyone who's experienced long train delays, emotional moments in airports or the feeling of being almost suffocated in your hometown knows that travel {and life!} isn't perfect. As a reflection of where you've been and where you're going, a map wall won't be either.

This is a really fun and creative way to add your family's heritage, your travels this far in your life, and your fernweh, all together in a stunning piece of art for your wall. I guess it's almost like scrapbooking on your wall! Or maybe another excuse for being hoarding bits of paper and pretty images?

Have you made anything with maps before? Do share!

xx
Libby

just to clarify; i'm not sponsored by papermash but they're a great resource for fernweh readers in the uk, if you're looking for pretty stationary!

1.06.2012

one word and some modge podge.


For the past few years, I've chosen a word to ruminate on as the moments roll on by. One word to think about throughout three hundred and sixty five days. A word to cling to and dwell upon in the midst of hard days, good days, and all the simple, sweet days in between. After mulling it over for a week or so, I stumbled upon my word and as soon as I said it aloud, I knew with a surety that this was mine to ponder for 2012. I couldn't stop smiling and my heart thrilled as the word reverberated deep with a trueness and aspirations I hope will be made manifest.

Last year, I began to find my voice and discover who I am. This year, I'm ready to step forward in faith and become who I'm created to be. I'm ready to be a woman more in love with my Savior; a photographer dedicated to celebrating everyday stories; a writer who speaks with truth and says complicated things simply; an artist with my unique voice; a sister, daughter, and friend who listens and loves more; a singer and pianist who plays with more depth; and a young woman who is wholly, and unequivocally, herself.


To not fear, to step forward, and to embrace this life I've been given. To create art even when no one else understands it; to see beauty in the ordinary; to be steadfast, diligent, and hard-working; see my shortcomings not as failures, but as opportunities to grow; to push the limits, step out of the box, and off the beaten path; to not compare, but to celebrate; to live with a gratefulness that permeates and a joy that is contagious; and to let what others think, fears I may have, and anything that holds me back to roll off my shoulders and simply be.


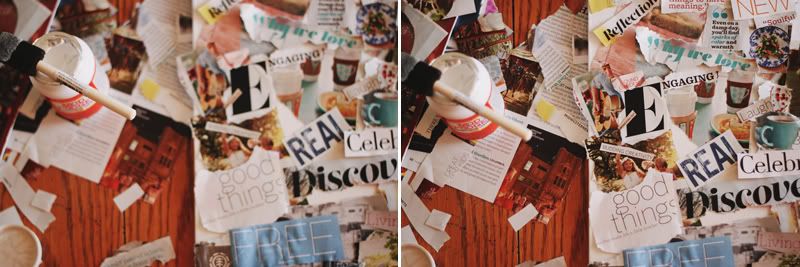
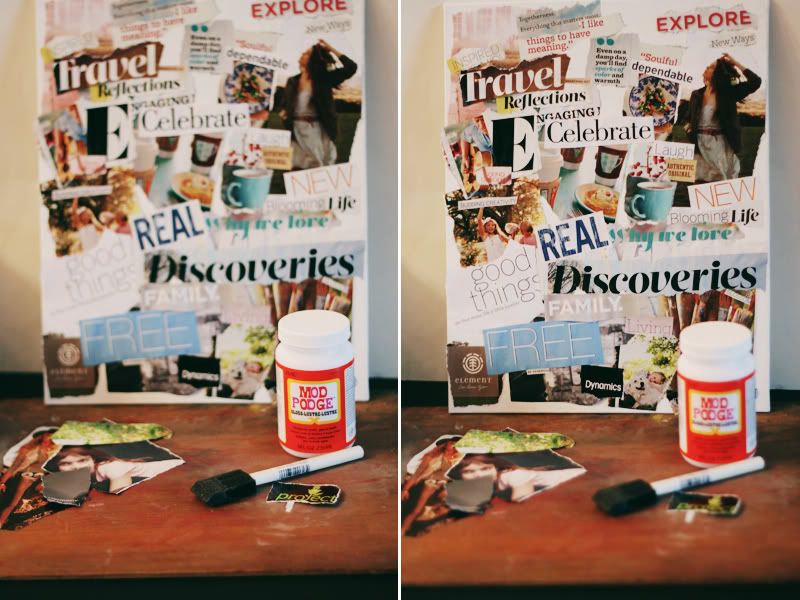
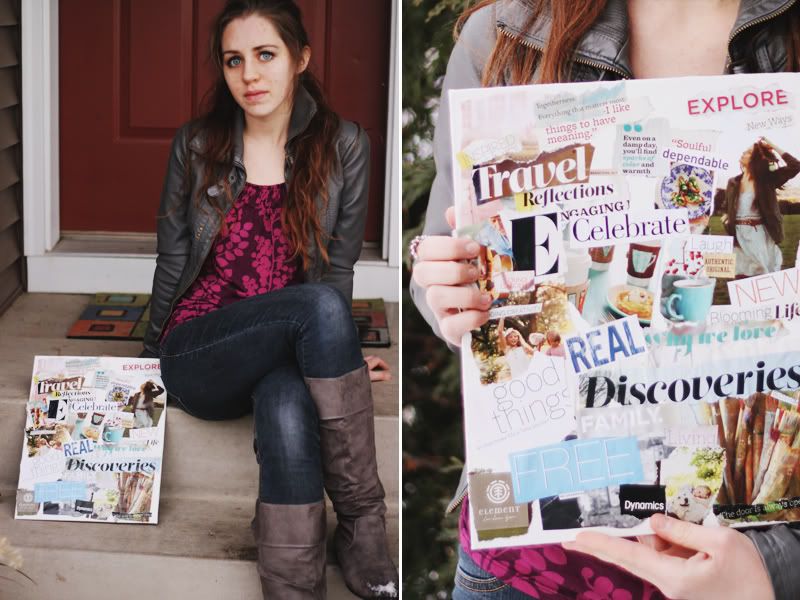
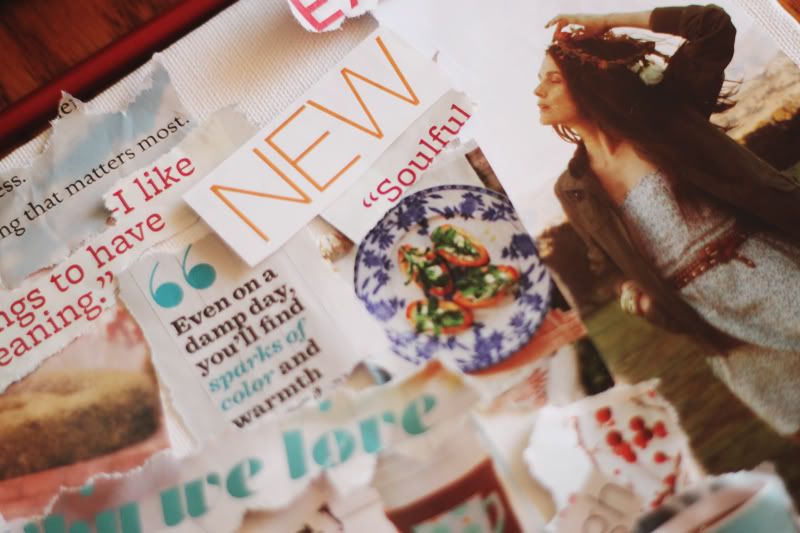
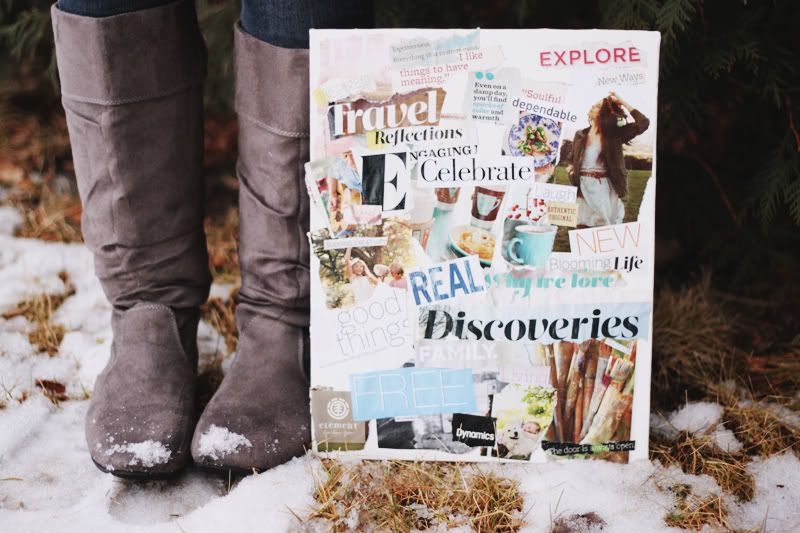
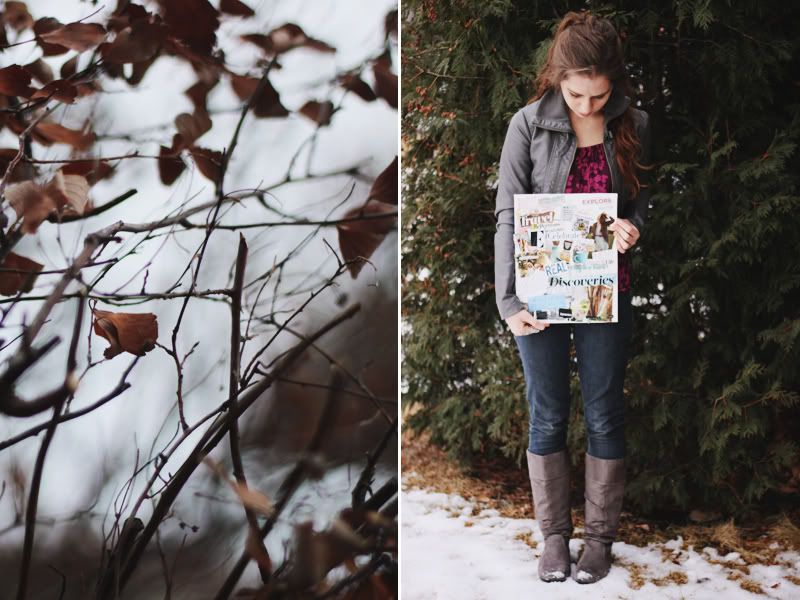
So this year, my word is Be. And to celebrate it, I created a collage of words and images that tell of who I want to be, and who I am becoming. Plastered on the page, are hopes, sticky with excitement, staring me in the face. Text that reminds me and pictures that encourage and a board that inspires me to a greater depth of character and a trueness of self. Be.

Your Word Collage

Supplies

A canvas
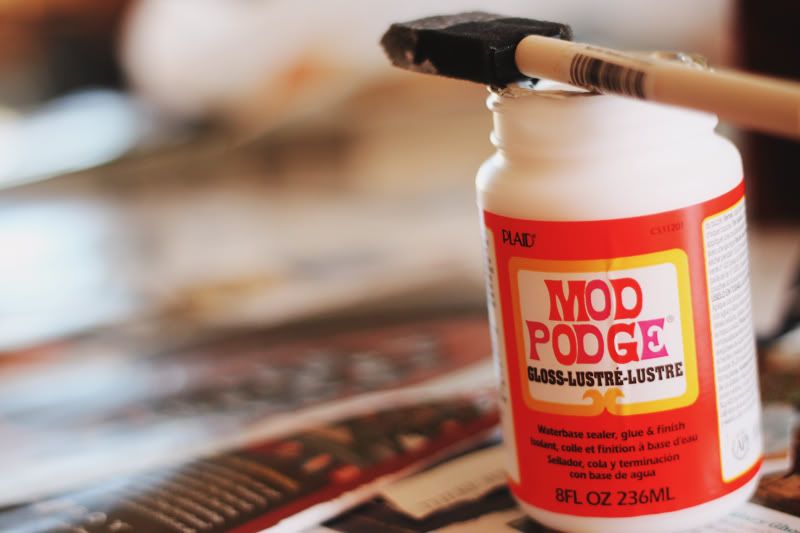
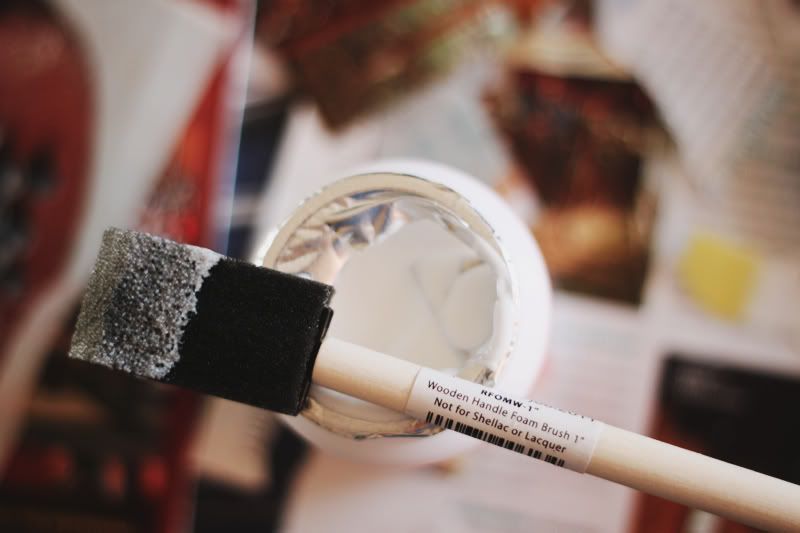
Modge Podge + a foam brush
Magazines
Scissors

Directions

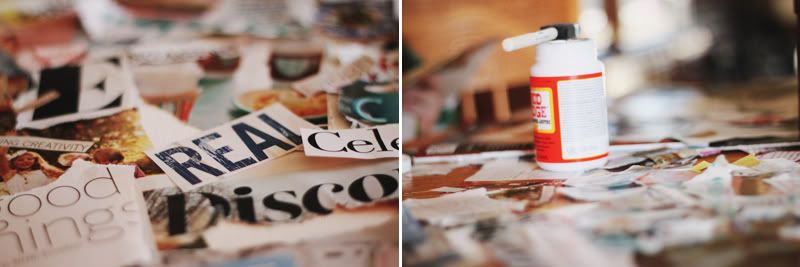
Go through your magazines and look for images and text that speak to you. Not just things that are inspiring, but photos and phrases that celebrate your word and your voice. After you've cut them out, brush over your entire canvas with modge podge and start sticking your cut-outs on. It takes some rearranging and switching, but once you've found the right way, you'll know. After all the images are firm on the canvas, brush over the entire board with modge podge again. It should look like it has a semi-transparent layer of white over the images, but it'll dry clear (or with a slight gloss if you choose a gloss modge podge). After it drys, hang it up, and let it echo your word through the rest of the year.

Remember, embrace, and become.

What's your word for 2012?
xo,
Hannah